- How do I install and uninstall Noise Reducer?
PC
To Install:
1. Run the "NoiseReducer_vx.x.x .exe" file you downloaded from our website.
2. Select a folder in which to install Noise Reducer, then click "Next".

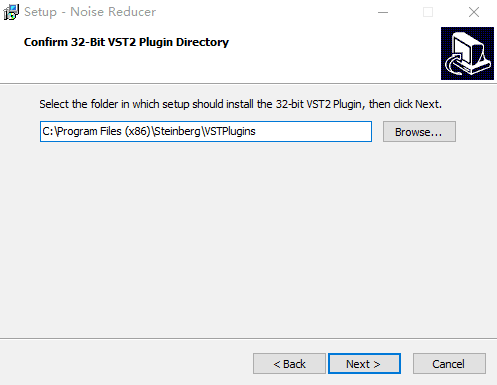
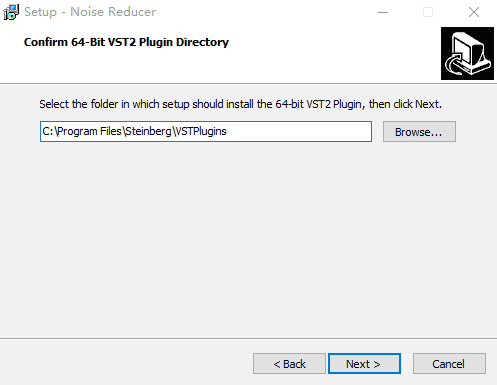
3. Select the folder for your plugins, then click "Next".


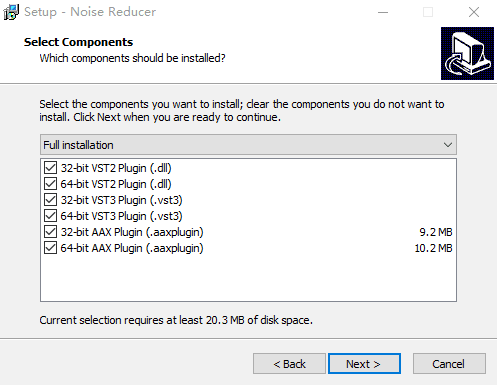
4. Select the components you want to install, then click “Next”.

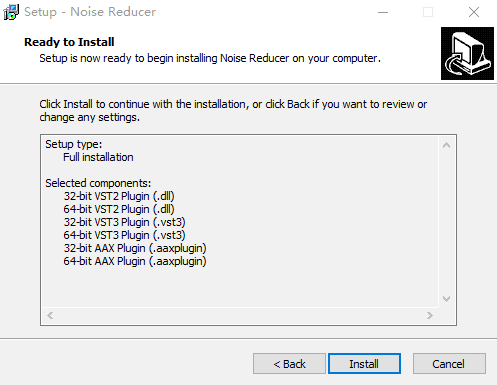
5. Select the additional tasks, do the final check, then click “Install” when you’re finished.
6. Wait for the installation progress to complete.
To Uninstall:
1. Click “Start” – “All Programs” – “Hotone Audio”.
2. Click Uninstall Noise Reducer.
3. Confirm uninstallation, then wait until the uninstallation process is complete.
You can also uninstall Noise Reducer from the Control Panel:
1. Open Control Panel from your Start menu.
2. Select Programs and Features.
3. Find Noise Reducer and click “Uninstall”.
Mac
To Install:
1. Mount “Noise Reducer.dmg” you download from our website.
2. Run “Noise Reducer Installer.pkg” in the image file.
3. Follow the instructions in the installer. The installer will ask you to enter your Mac password to continue.
4. Wait until the installation process is complete.
To Uninstall:
1. Mount “Noise Reducer.dmg” you downloaded from our website.
2. Run “Noise Reducer Uninstaller” in the image file.
3. Confirm uninstallation, wait until the uninstallation is complete.
IMPORTANT: Network connection is required during uninstallation process in order to deactivate the current device you’re using.
- How do I update to the latest version?
- How do I create a preset?
- How do I backup my presets? Can I use my presets on different devices?
PC: /(Your Username)/My Documents/Hotone/NoiseReducer/Presets
Mac: /User/(Your Username)/Documents/Hotone/NoiseReducer/Presets
To use the presets on different devices, you can copy your favorite presets and paste them to the same folder on different devices.
